Well if not, I'd like to have a brief description of him even if I'm not too familiar with. He's Marketing director at Storify. Former syndicated newspaper columnist. Studied social media at Stanford. Led social for Fortune 50. He's been recently posting some interesting pictures and topics in twitter that caught my attention. What he posted in his account entitled "30-sec guide to taking great pics of people" is really true and can be useful to us guys.
The following tips are great so take time to read it:
 |
| Example of light behind camera |
- Light behind camera,in front of subject .
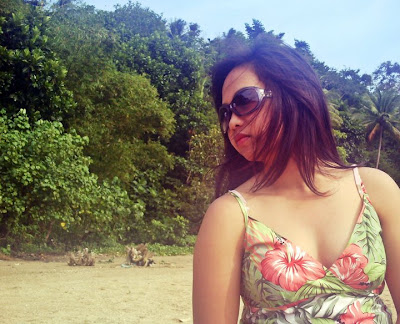
- It’s best to put the light source behind you, so that it illuminates your subject. I suggest that you don't shoot when it's really bright outside because when the sun is high in the sky the light is most intense. . If you have to shoot during midday, try to find a shady spot to shoot in. Or, if you don’t care too much about getting the eyes of your subjects, consider shooting them from the side or from behind like the example picture shown in the right side. This kind of shot simply create a dramatic photo.

Normally, beginners just use the flash of their camera to save what would normally be an unusable shot like this picture (in the left side). The set-up of this is one umbrella camera right, slightly in front of the subject and one umbrella camera left, slightly behind the subject.
For professionals, the set up of the lights is like this:
This lighting is pretty much expensive and a bit complex other than using flash only. You really can get a good photograph if your studio has something like this.
2.Never shoot from belly up.
- A shot like this can make your subject really big so try to avoid doing
- What to include in the frame is one of your most important decisions. Many photographers try to include too many elements which clutter and distract. So, it is important to be discriminating about what you leave in and out. Perhaps the best thing you can do is ask yourself two simple questions. “What is it that most impresses me about this scene?” And, “How can I best communicate what I like about it?” Remember the size of the subject within the frame is important. If it is too large you may not get enough context, that is, sense of location and place, if that is important. If it is too small, there may be too many other competing or distracting elements. If a scene has lots of potential, take a lot of photos at different focal lengths. Experimenting like this will help you discover what you like and serendipity may surprise you too! Below are some examples, poor and better.
 |
| The subject clearly dominates the frame of the photo. (POOR QUALITY) |
 |
| A better photo not dominating the whole frame. |
 |
| Giant Gal in Makati |
- Photograph from the ground looking up or from up higher looking down. Try angling your subject for a more unique look. Don't be afraid to take a lot of photos. It often requires taking dozens of photos to come up with just the right one. Not only does practice make perfect, but it could be that last shot that gives you just the right image.


No comments:
Post a Comment